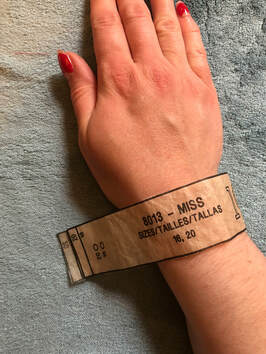
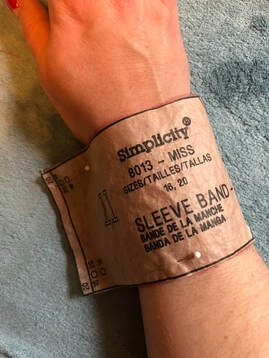
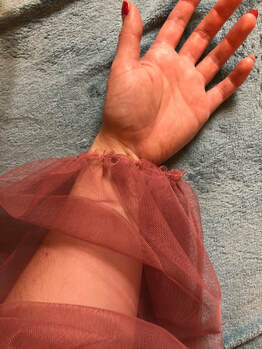
We're certainly cracking on with things now. I deviate from the pattern a fair bit here, heads up! You can choose to do as I did, or to follow the pattern. The view I was vaguely following is for A with bishop sleeves, but you could also do B with fluted sleeves. I sewed the sleeves when really tired and ill, but desperate to sew! I therefore failed entirely to read the other column of instructions and made my cuffs/sleeve bands set without buttons. I have fairly small hands so I'm able to easily get them through the sleeves, yet still get a lovely bishop sleeve. The pattern has buttons, so you choose what will work for you. This is for set cuffs without buttons, which I custom made fit-wise, as the pattern pieces would have been way too loose for my wrists.
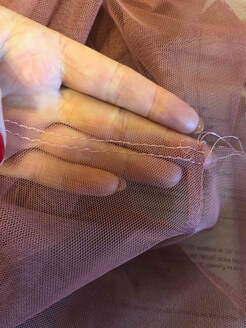
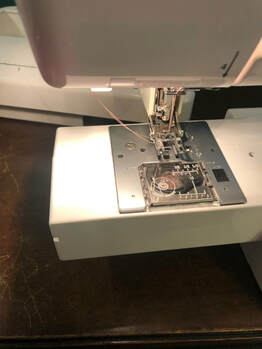
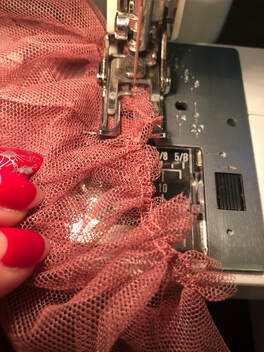
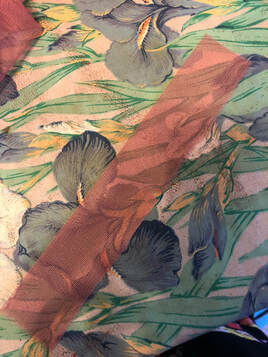
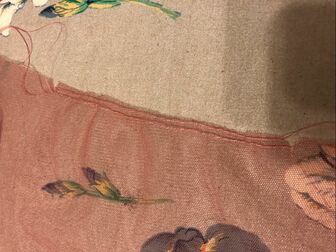
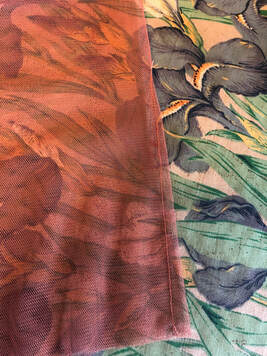
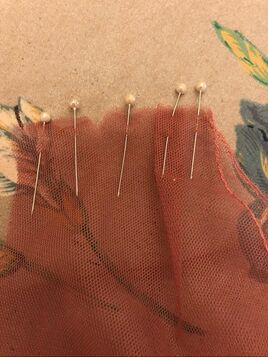
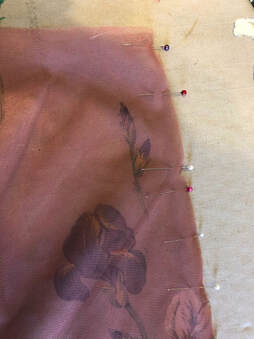
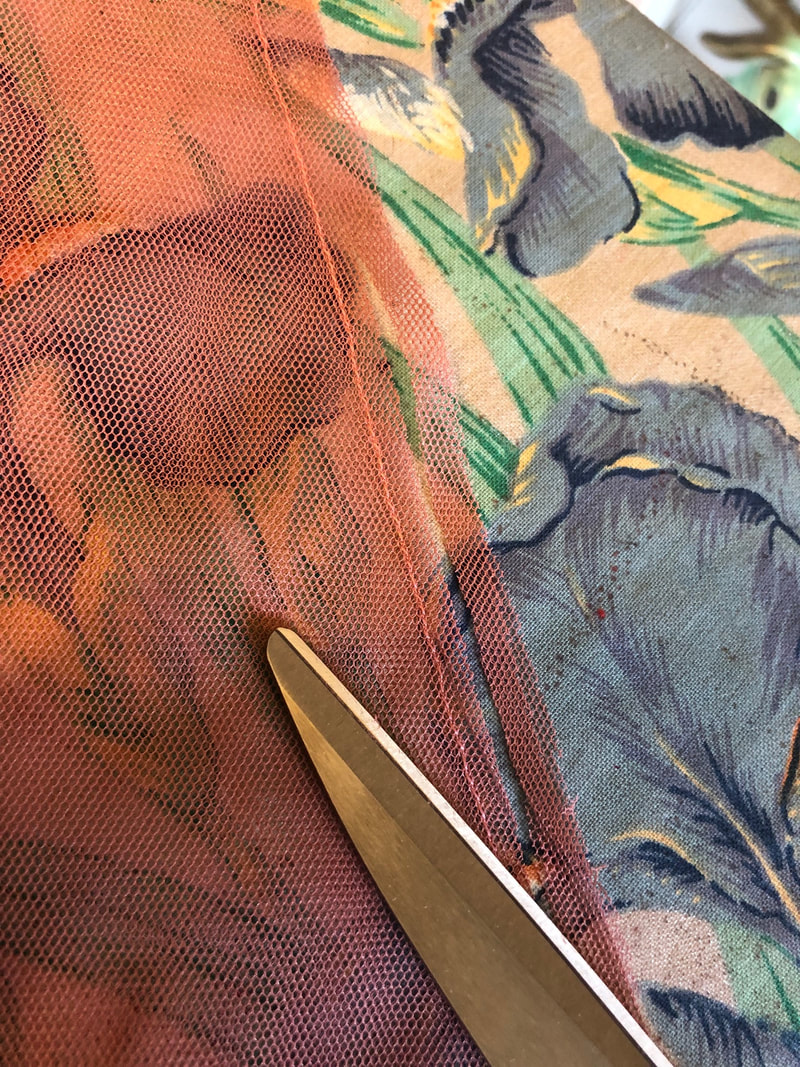
4. We need gathers at both the sleeve head and cuff, so run gathering stitches between the marks on the pattern, just like we did for the bodice front. 5. Try the sleeve band on for fit - mine was massively too big so I cut it down by about an inch. I also choose to ignore the gathering guide because again it was too big. 6. Gather the sleeves so they are going to work with the size of sleeve band you are using and tie in place. 7. Sew or baste the gathers. 8. Fold the sleeve band in half lengthwise with wrong sides together. 9. On the outside of the sleeve, pin it to the lower edge of the sleeve with the edges of the band extending past the sleeve. 10. Sew up the edges of the sleeve band together and press (I only had 3/8" seam allowance here). 11. Stitch a 3/8" seam around the cuff and then press the sleeve band over the seam and turn it inside. 12. I slipstitched the inside by hand to finish the cuff. 13. Repeat on the other side. Now we are going to attach the sleeves - again a job I was doing ill and tired, and although I have absolutely done French seams on a sleeve head before, I failed abysmally to do so this time! Instead I ended up sewing a 3/8" seam and then realising my mistake, sewed another seam line 1/4" away from this to make up the 5/8" seam in the pattern. I then just cut off the excess so it looks like a faux French seam! Choose whether you want to do a French seam here (they are tricky on curves) or want to do another seam treatment like pressing them open. Net won't fray so you are ok to do this. Whatever you are doing, follow the general guide below:
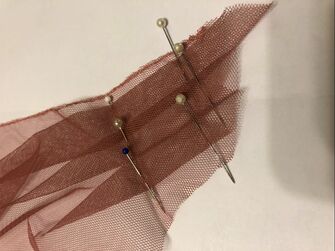
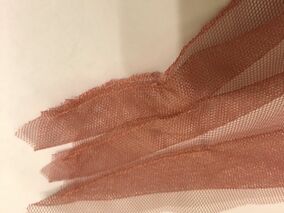
Let's start with the preparation work for our edges. Just as we did on the skirt, let's finish the edges.
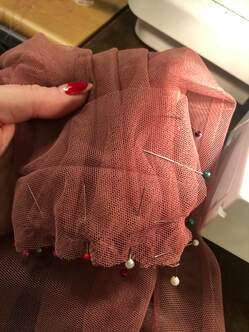
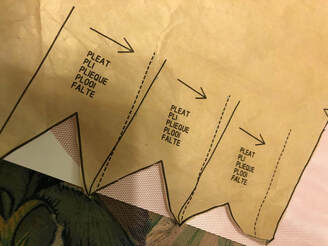
5. On the front bodice pieces, there are several pleat lines marked - on the outside, fold along the solid line at the bottom and bring it to the dotted line (basically bring it up) and pin it. 6. Do the same for the other lines and then sew them all in place. I deviated from the pattern here because I'd shortened my bodice. I also made my pleats less 'soft' as intended because I sewed them up to the lines on the pattern. Just personal taste, you dice what you'd like to do. Press. 7. Do the same on the other front bodice piece. 8. There are gathers under the bust, to make these run a long machine stitch (eg 4 on my machine) between the pattern marks 3/8" in the seam allowance and leave it untied at both ends. 9. Then run another such stitch about 1/8" away from the first one, still within the seam allowance. 10. Tie the two bobbin threads together at each end. 11. Tie one end of the thread together. You can now pull one side and gather the fabric. Leave it unfixed for now. 12. Do the same on the other front bodice piece. 13. On the back piece, make the darts by putting the right side together in a triangle (dart) and sewing from the base to the tip. Don't backstitch at the tip, but instead leave long ends and tie the thread to lock it. Then snip off the excess thread.
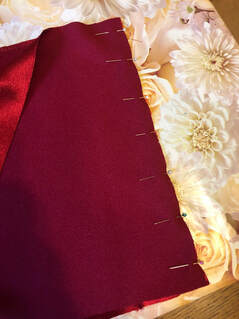
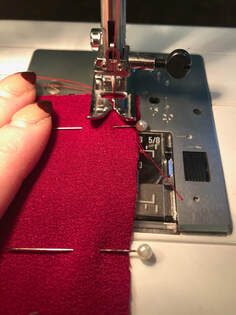
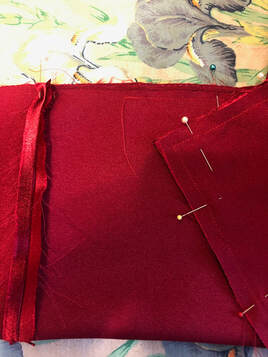
14. Press the dart flat first, and then towards the centre. 15. Now we can attach the bodice fronts to the back. We'll be using a French seam again, so at the shoulders, match up the notches with wrong sides together. 16. Stitch 3/8" seam allowance, press and trim it down. 17. Flip it over and sew 1/4" seam. Press the seam towards the back. 18. Repeat on the other side. 19. Now attach the back bodice and front bodice at the sides with a French seam, just as above, matching the notches. Hey we have a bodice! Try it on for size and make any fit modifications you feel necessary. So again we're starting with the next easiest sewing - nice straight lines in the skirt. Now because our robe is sheer, we'll be using French seams - basically we sew each seam twice. Once wrong side to wrong side for 3/8", we then press and cut down the seam allowance, flip it round to encase the raw edge and sew 1/4" line and press.
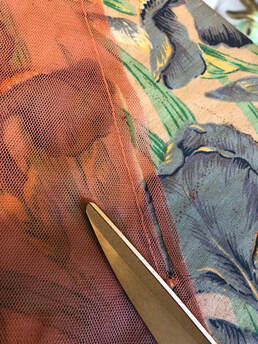
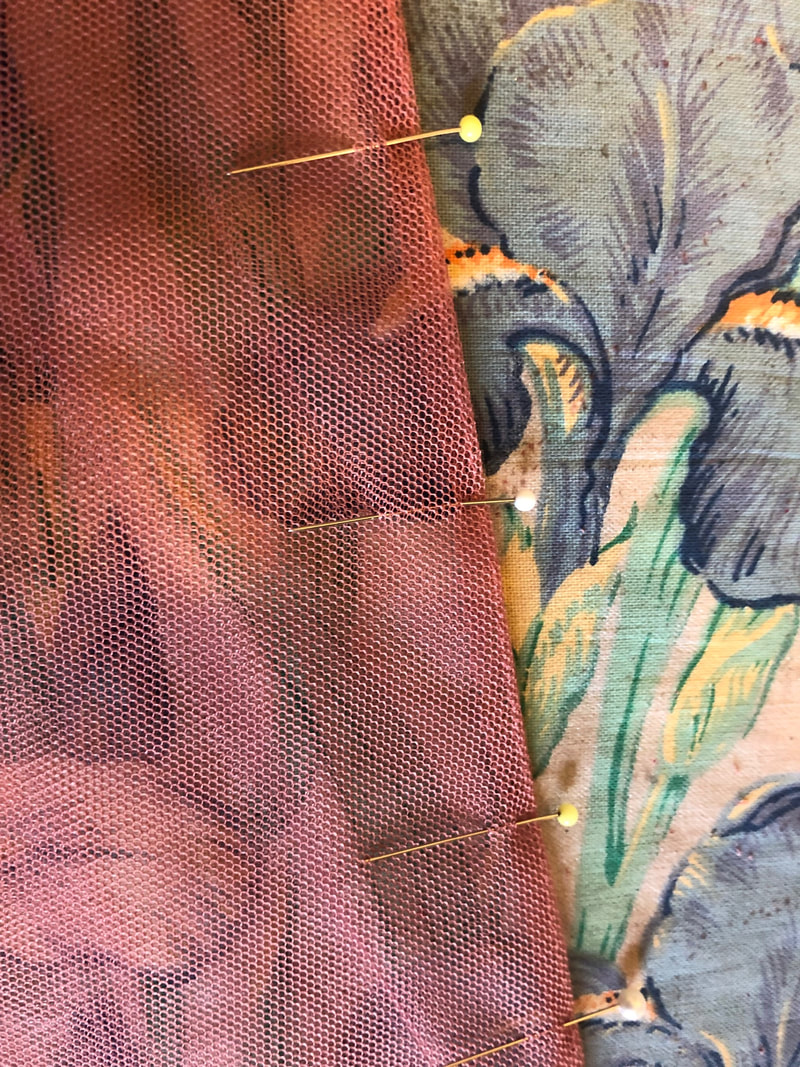
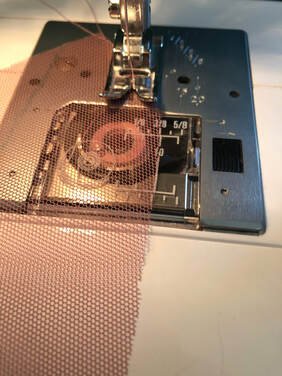
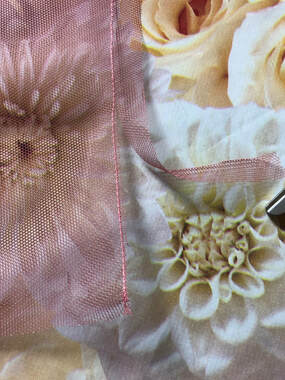
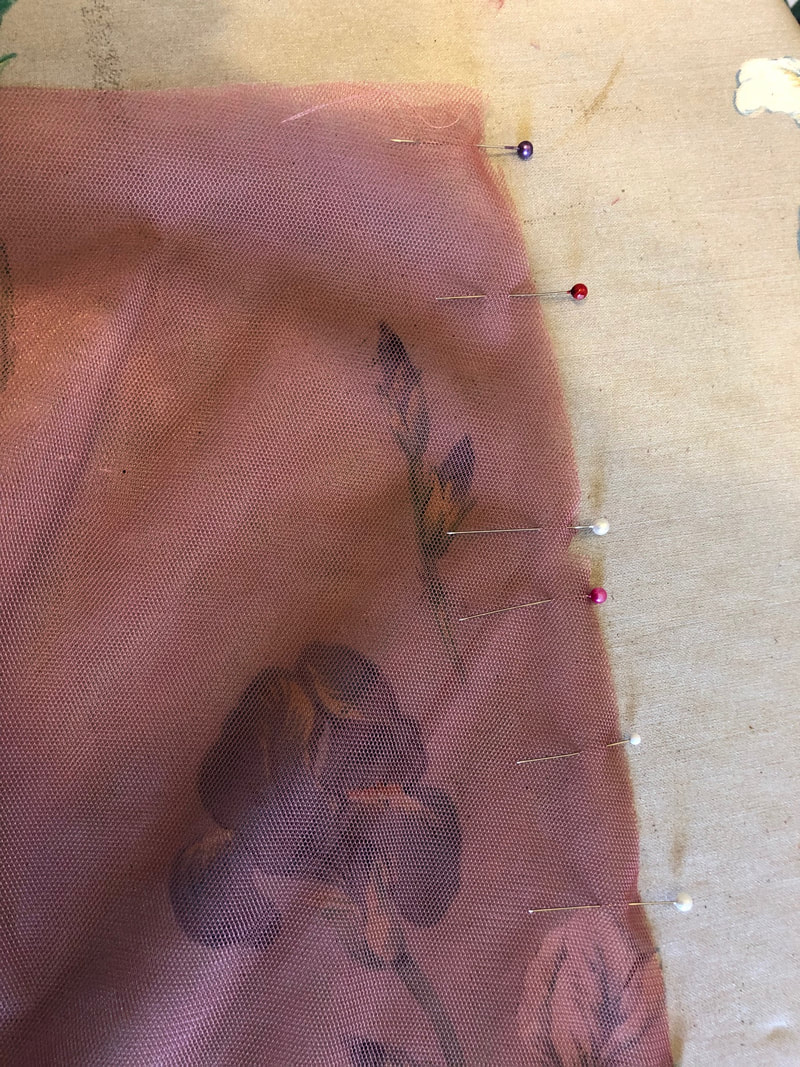
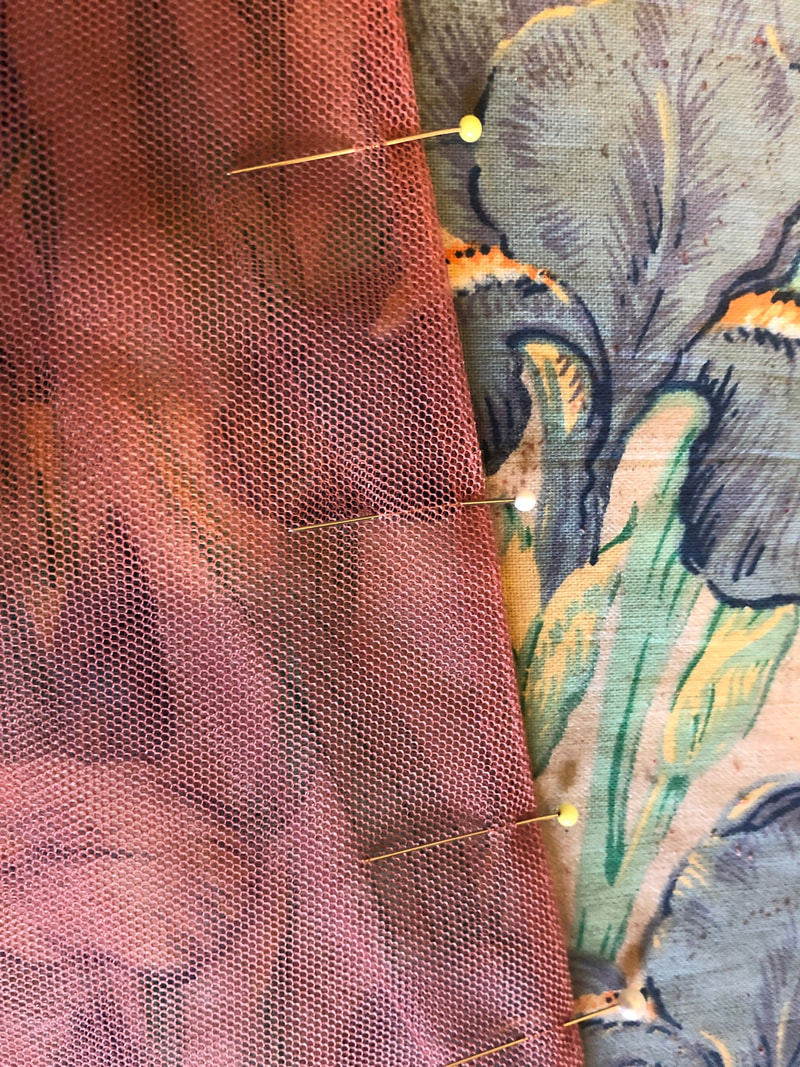
To attach the panels of our skirt, we'll be using a French seam, here's how to do that. - Pin with WRONG sides together. - Stitch 3/8" seam allowance, press and trim it down. - Flip it over and sew 1/4" seam. Press the seam towards the back. 4. Let's attach our shortest front pieces to the next shortest front pieces. So we have Front Skirt (Short)and Front Skirt (Longer) attached together and then the same on the other side. Press the seams towards the back.
5. Let's sew a Side Skirt Front to our Front Skirt (Longer). And the same on the other side. Press seams to the back. 6. Sew a Skirt Side Back to our Skirt Side Front. And the same on the other side. Press seams to the back. 7. Sew each side to our Skirt Back so we have one long skirt. Press seams to the back. 8. We are going to be gathering the skirt pieces, so run a gathering stitch (long machine stitch eg 4 on your machine) from the first side skirt piece all the way around the skirt to the other side front piece, one at 3/8" and one 1/8" away from the first. 9. Et viola! We have a skirt! So we are starting with the easiest sewing first!!
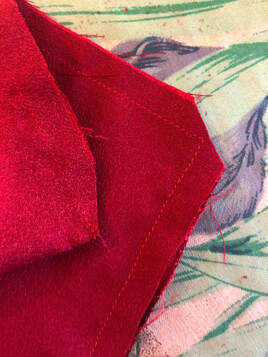
4. Trim the seam allowance down to about 1/4" and cut the corners off so it will turn nicely.
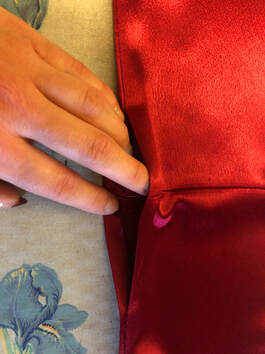
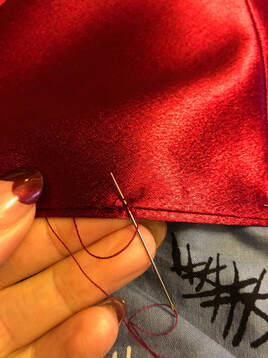
5. Turn it so the sash is right side out and press. 6. Fold the seam allowance in at the middle and press so you can hand slip stitch the gap you used to turn it. 7. Sash done! (We'll trim it later) So we are using the Simplicity 8013 pattern as a base, and I used my normal size with my normal modifications for fit (namely shortening the bodice by an inch). We are already starting on mods though! We are roughly following the shorter length view A with the bishop sleeves. Seam allowance given in the pattern is 5/8" and is included on the pieces. Fundamentally we'll be cutting out 19 pieces as follows:
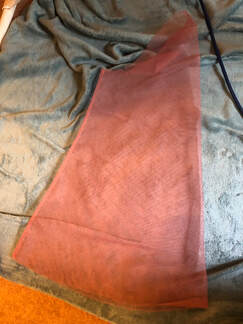
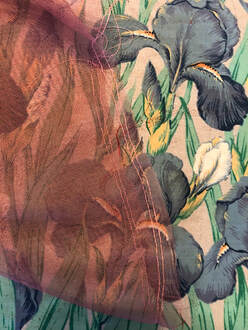
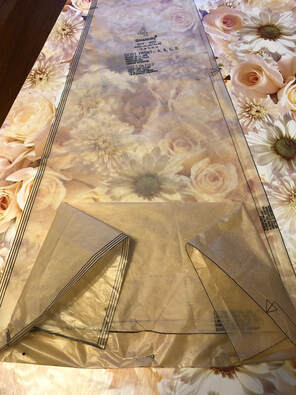
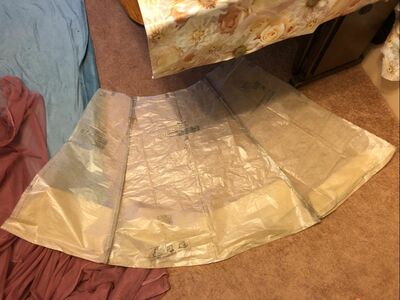
We will therefore cut two extra front skirt pieces and eliminated all lining pieces (obviously the whole point is its sheer!!) A quick note that tulle doesn't have a grain line like other fabrics and also no right/wrong side, which can either make things easier or more difficult! I still used the pieces as if there were a grain, and was consistent with what I used as the right side. More for good sewing practices than anything else. BUT WAIT! SkirtBefore we cut our pieces out, I wanted the dressing gown to be slightly longer at the back with a graduation from shorter at the front to a train effect at the back. So for the skirt pieces, I did as follows, basing everything on view A:
Now although that definitely has a slight effect and I do have a train, you could choose to make it more pronounced if you wish. And just remember to keep your fabric because we still have the bottom ruffle to make! Bodice
Sash
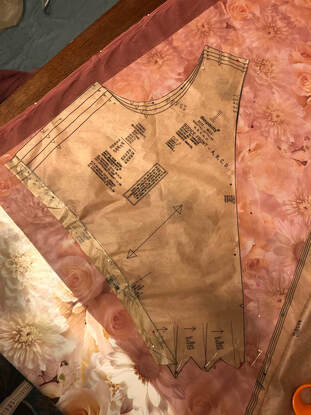
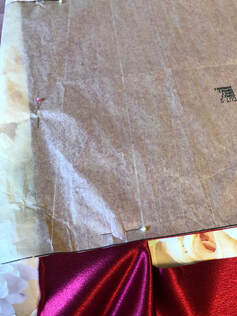
Marking Pattern PiecesA quick note on marking your pieces - this is a freaking nightmare with tulle! I used a mix of tailor's tacks and pen and got annoyed! I also left the pattern pieces attached so I knew which side was which to avoid confusion of pieces!
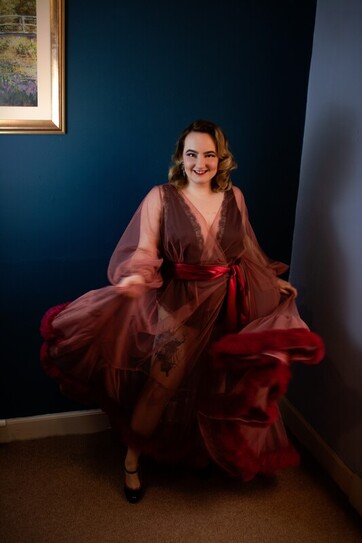
BackgroundThis sewalong is a non-commercial enterprise that I'm just hosting on this blog! So some background for this sewalong - I have always been captivated by the glamour of old movies, particularly that amazing golden age of Hollywood in the 30s and 40s. I adore eveningwear, but equally the extravagant and over the top bedroom (boudior) wear. The burlesque star Catherine D'Lish makes the most amazing dressing gowns, and at around $500 they are extraordinarily good value for money (honestly think of the fabric costs!) but UK customs are a headache and there's something special about making one's own. So I took inspiration from hers and from vintage sewing patterns. Now this sewalong had to hit a few nails:
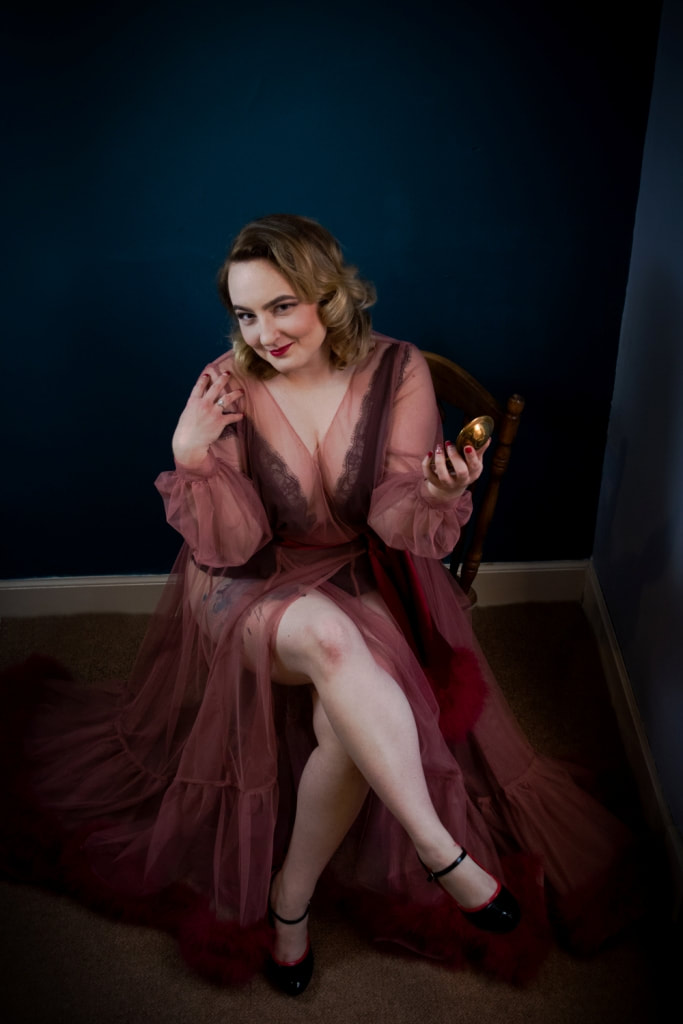
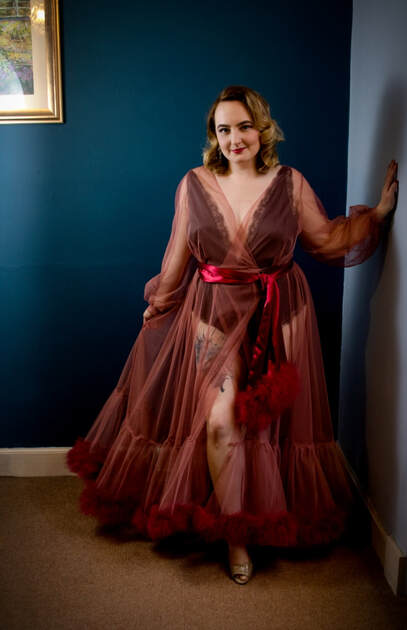
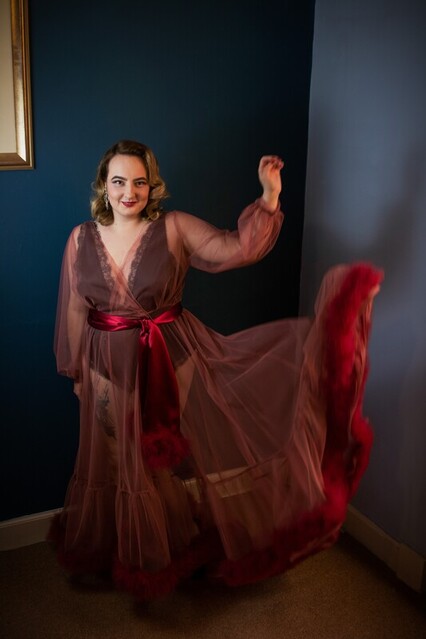
So taking all that into consideration, I looked long and hard for an appropriate pattern. And trust me, it wasn't easy! Eventually I decided that we could modify Simplicity 8013 which is a lovely 1970s faux wrap dress, with good reviews and is genuinely a nice dress pattern for later too (hey I like value for money!) Now a heads up - I went seriously ROGUE on this pattern. Sure we are using it as a base, but it is only that. My instructions are going to differ substantially from this pattern. I'd also highlight that although I am so happy with the outcome of mine, there are probably things I'd do differently and I want you to be aware of them before you embark on this, to ensure the overall result will work for you. To be honest, it's probably better to drape this. We aren't necessarily going about this the best way! The pattern is for a FAUX wrap dress, and there are limitations that come with that, it's perhaps not as full on the bodice as a standard dressing gown, and there's less coverage as a result. It probably looks better worn closed than open, due to the bodice construction. Tulle/net is a pain in the backside to sew with!! Seriously. Perfectly possible, but not pleasant. I had wanted this to be more beginner orientated, but fabric choice rather prevents that. We'll also be doing French seams (unless you choose to do otherwise) so heads up about that too! This is a show piece, rather than practical - duh! Polyester and nylon and highly flammable - PLEASE don't wear it to cook in or sleep in, as if there is a fire, it will melt on you and that will be horrific. Seriously, night time wear is treated to be flame retardant for a very good reason. Swan around in this, but don't wear it to sleep in, and don't hold me liable if you go up in flames wearing so much highly flammable fabric!! RequirementsStill game? Here are an outline of what you will need and the steps to this sewalong:
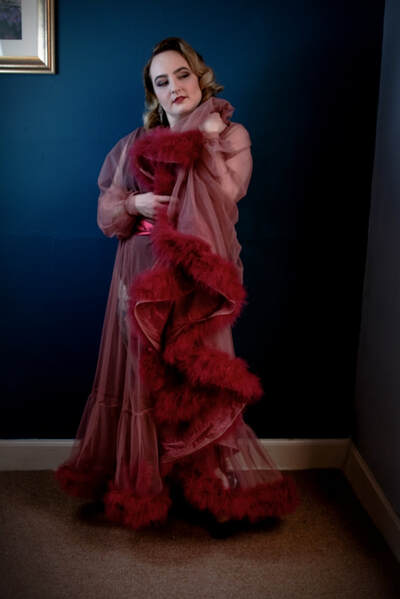
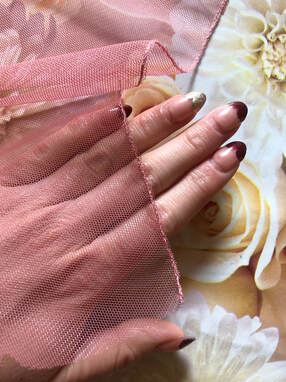
MaterialsTulle I bought my tulle locally from Edinburgh Fabrics and was very pleased with it. I'd highly recommend them. I’d also bought some from Minerva Crafts which although lovely, was the wrong colour! I also wasn’t very happy with their customer service so wouldn’t really recommend them. The key term when looking for fabric for this is “soft tulle”. BTW because I used tulle net which does not fray, I did no facing or lining, please be aware that my instructions will reflect this if you are choosing fabric which needs an edge treatment! I will talk you through the edge treatment I used on the tulle. Some other tulle I found that looked good are: https://www.stoffstil.co.uk/fabrics/tulle https://www.myfabrics.co.uk/tulle.html https://www.abakhan.co.uk/fabric/dressmaking/tulle-net.html?p=2 But please note I have no experience or links to these companies. Btw if anyone wants 10 metres of pale pink soft Italian tulle that I got from Minerva, I’m happy to sell you on all or some of it. Marabou/Trim I used marabou trim, but this is not essential. You could use any sort of trim or even several rows of ruffled tulle. If you choose to us marabou, you will probably have to hand sew it (I did), other trims or ruffles have the advantage that you may be able to machine sew them! Another trim you may wish to consider is using feather boas instead of marabou. Several sewn together may give you a nice thick trim. This is something I considered using but I couldn’t find the right colour. I'll be honest, the marabou was by far the most expensive element of the sew, here are some other ideas to keep the cost down:
The marabou I bought was from Minerva Crafts (same time as I bought the tulle). What you are looking for with the marabou is that it is fluffy and as thick as possible (trust me, not that easy!) I personally wanted thicker but couldn’t find it. I got around this by using two rows to make it thicker. Here are some websites for marabou, again I have no experience or links to them. https://www.sewessential.co.uk/marabou-feather-trimming-10m-length https://www.calicolaine.co.uk/haberdashery/feathers/marabou-string.html https://www.abakhan.co.uk/haberdashery/feathers-feather-trim/marabou-feather-trim-boas.html https://www.fabricland.co.uk/product/plain-marabou-feather-trim/ https://plushaddict.co.uk/haberdashery/trims/marabou-feather-trim.html Satin I just used a poly satin for the sash and this is widely available. You could also use satin ribbon instead if you want a thinner sash, or even make the sash out of tulle to match the rest of the dressing gown. Organise your materials and we'll get started soon! These will be the steps of the sewalong. Sewalong Steps
You'll note that I'm not giving timescales - we'll track everyone's process on our facebook group called 1940s Fashions Sewalong (we did a 40s dress previously) and decide when most folk are ready for the next step so we don't leave anyone behind. I've written a wee article for In Retrospect magazine about some of the stories behind vintage items I have bought and sold. You can check it out here http://inretrospectmagazine.com/dispatches/life-vintage-shop/
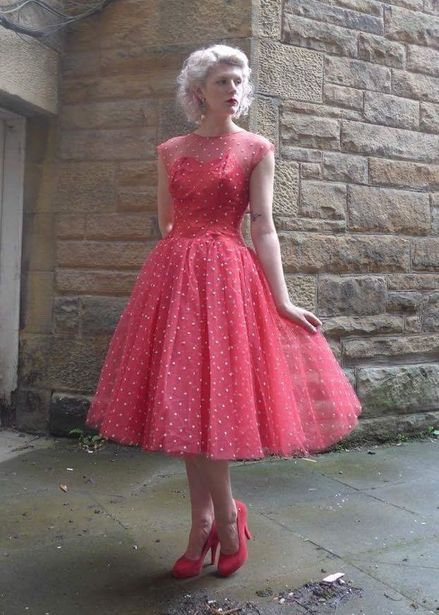
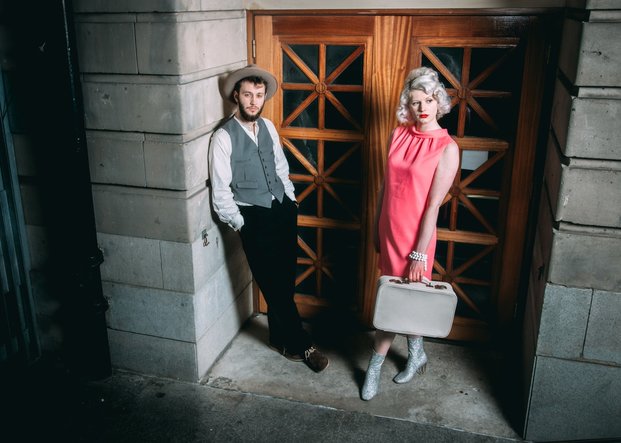
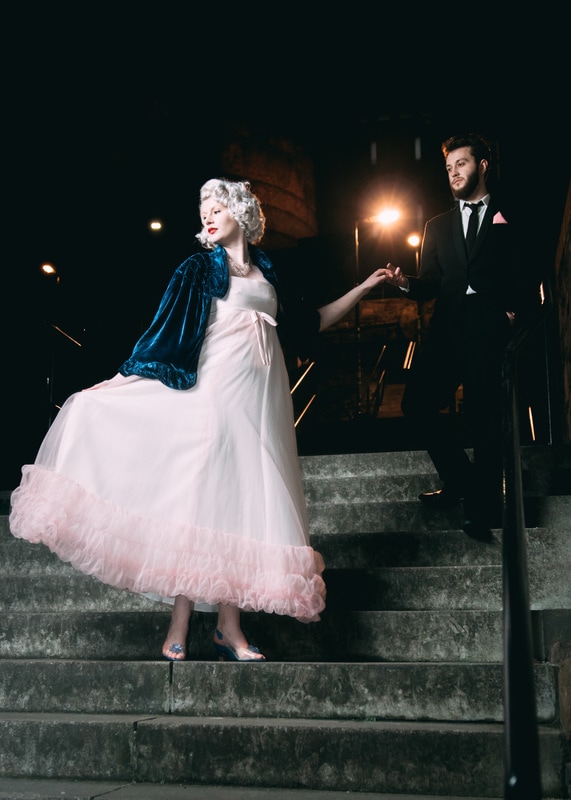
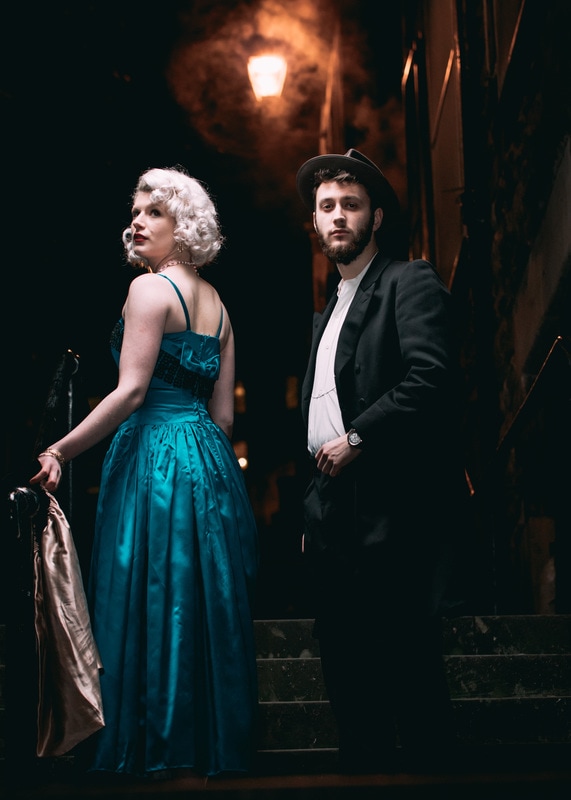
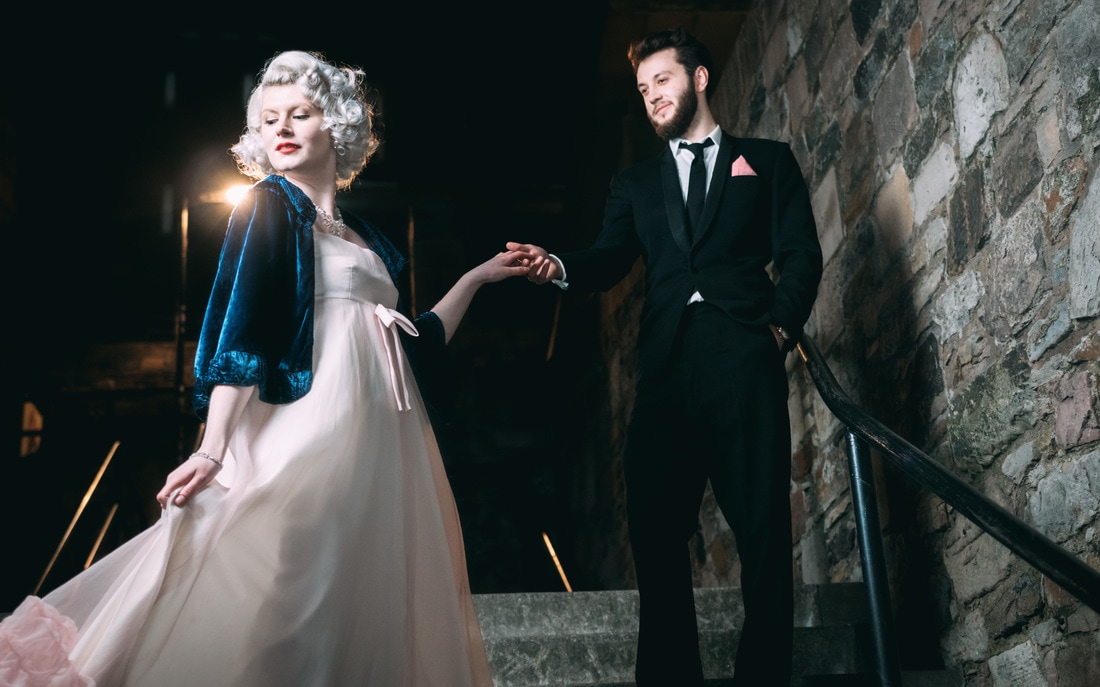
You may have noticed that a few new (and very awesome!) photos appeared on our site recently - these are the results of our photoshoot with Perry Jonsson Photo and a crack team who really made my rambled thoughts come to life. Having worked in a bank as an HR Manager for the 2 1/2 years proceeding starting up Carnivàle, I didn't exactly have much exposure (ba dum tish) to photoshoots, not exactly the norm in the exciting and fascinating world of HR... But I was in good hands with a great team comprising of Perry on photography, Amy on make-up, Drew on lighting and fabulous models Elizabeth and Jack. Elizabeth even did her own vintage hairstyling. The brief I'd given to the team was to capture the romanticism of vintage - we took liberties with the styling to bring in a little contemporary edge by mixing up eras. My original thoughts were based on the feeling in this 90s commercial which has stuck with me since childhood, yes I am very old and clearly more than a little sappy too! As I like to give everyone a good challenge, I wanted an outside shoot in the dark and in January, which in Scotland would be lovely for my poor models. They all rallied to the challenge and we were blessed with a very mild January night, although I'm sure Elizabeth didn't feel this when dressed in a 60s summer mini dress! For me the main reason I wanted to use the theme of romanticism for the images in that lovely floaty froufrou pink dress under the castle is twofold, firstly my love of the historic city of Edinburgh is obvious, this city oozes history from every corner and has been my home for 17 years. What more iconic image of the city is there than Edinburgh castle? Deeper than that however, I think part of the reason many people are drawn to vintage clothing (well vintage and antique anything actually), as well as the quality and environmental benefits of re-using, is that we romanticize a link to the past. We wonder who wore these garments, how they felt in them and what they meant to them. If there's one thing I have learnt in dealing vintage clothing, it's that we attach a lot of meaning and memories to clothing. I can't tell you the number of times I have been chosen to buy items from people, because they know I will cherish them in the same way they have for so many years. They seem to know I'm a safe custodian of the dress their mum made for them and which they have kept safe for so long. I promise to find that dress a good new home where it will be cherished by the owner. Fast fashion this is not; few people buy vintage clothing without some idea as to the history of the garment, and it has a little bit more respect over high street clothing because of that history.
One of the best examples I can give of others feeling the same way is a long remembered instagram post where the new owner on receiving vintage wedding shoes from the 1940s with the date and significance written on the soles, commented "This is what I live for". I actually originally mistakenly wrote souls there rather than soles; that really was a Freudian slip - there's something very soulful about vintage clothing. |
AuthorCarnivàle Vintage is owned by Rachael Coutts to fulfill her endless need for vintage clothing and jewellery - once her own home drowned in clothes, it was time to open a shop. Archives
August 2020
Categories |


 RSS Feed
