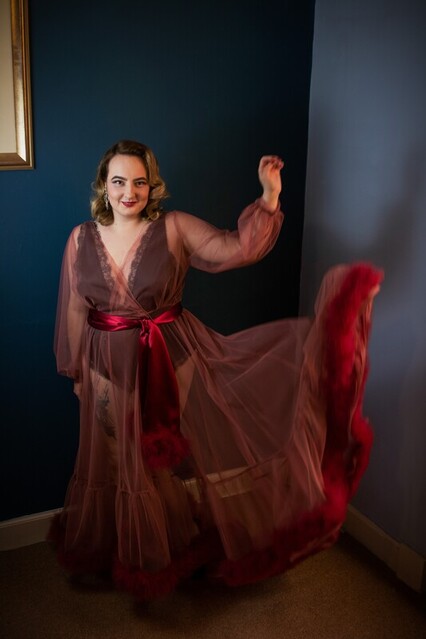
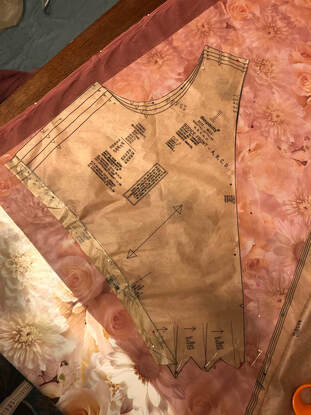
 So we are using the Simplicity 8013 pattern as a base, and I used my normal size with my normal modifications for fit (namely shortening the bodice by an inch). We are already starting on mods though! We are roughly following the shorter length view A with the bishop sleeves. Seam allowance given in the pattern is 5/8" and is included on the pieces. Fundamentally we'll be cutting out 19 pieces as follows:
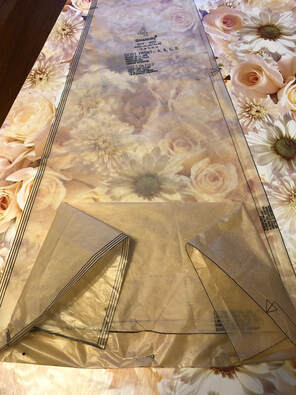
We will therefore cut two extra front skirt pieces and eliminated all lining pieces (obviously the whole point is its sheer!!) A quick note that tulle doesn't have a grain line like other fabrics and also no right/wrong side, which can either make things easier or more difficult! I still used the pieces as if there were a grain, and was consistent with what I used as the right side. More for good sewing practices than anything else. BUT WAIT! Skirt
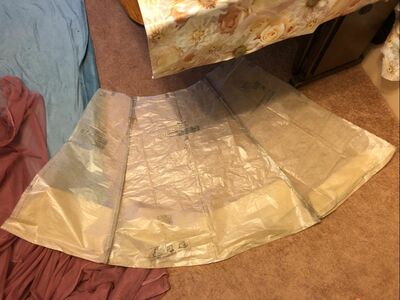
Before we cut our pieces out, I wanted the dressing gown to be slightly longer at the back with a graduation from shorter at the front to a train effect at the back. So for the skirt pieces, I did as follows, basing everything on view A:
Now although that definitely has a slight effect and I do have a train, you could choose to make it more pronounced if you wish. And just remember to keep your fabric because we still have the bottom ruffle to make! Bodice
Sash
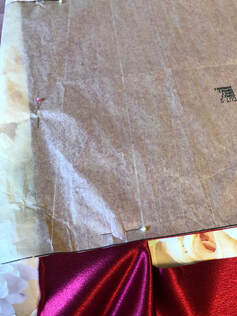
Marking Pattern PiecesA quick note on marking your pieces - this is a freaking nightmare with tulle! I used a mix of tailor's tacks and pen and got annoyed! I also left the pattern pieces attached so I knew which side was which to avoid confusion of pieces!
Kay
27/8/2020 09:20:45 pm
Only just found your blog and love. I hope you come back to this sew along it's fab x
Rachael
27/8/2020 10:51:27 pm
Hi Kay, Leave a Reply. |
AuthorCarnivàle Vintage is owned by Rachael Coutts to fulfill her endless need for vintage clothing and jewellery - once her own home drowned in clothes, it was time to open a shop. Archives
August 2020
Categories |

 RSS Feed
