|
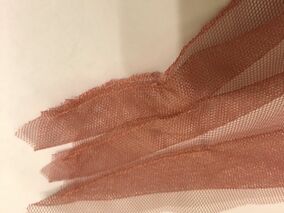
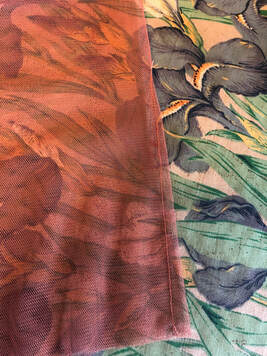
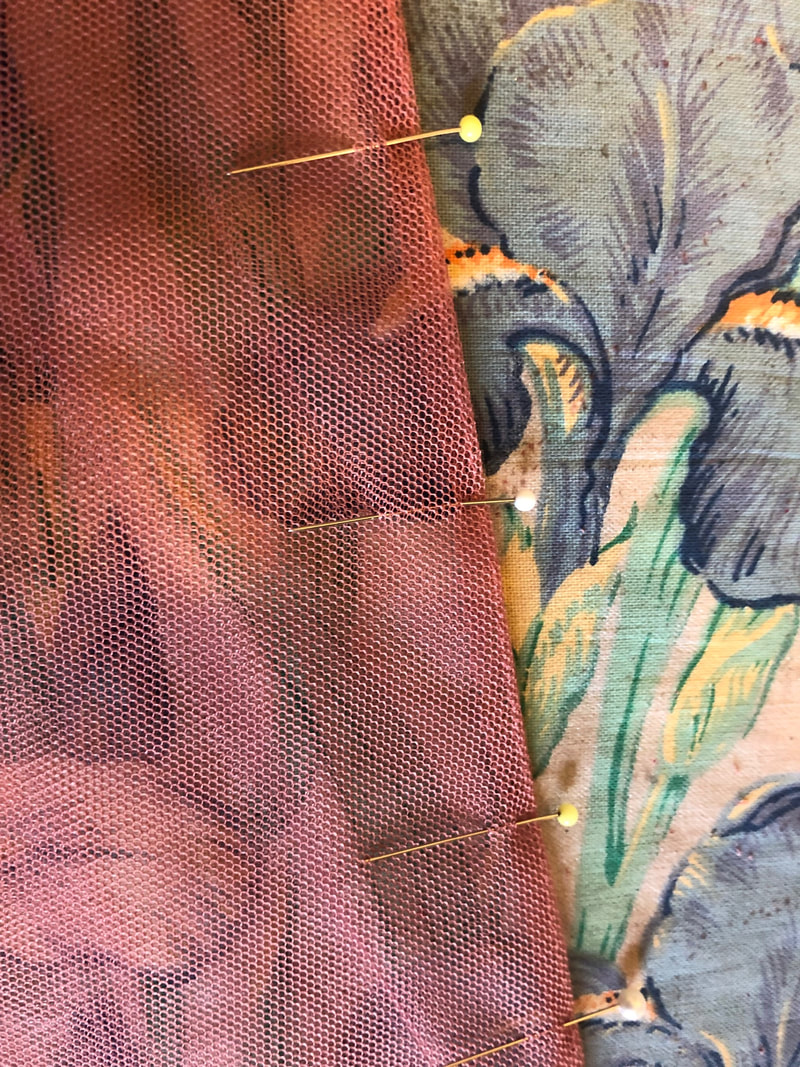
Let's start with the preparation work for our edges. Just as we did on the skirt, let's finish the edges.
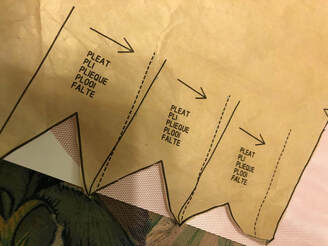
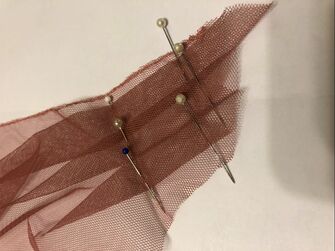
 6) Pleats sewn in (pattern variation). 5. On the front bodice pieces, there are several pleat lines marked - on the outside, fold along the solid line at the bottom and bring it to the dotted line (basically bring it up) and pin it. 6. Do the same for the other lines and then sew them all in place. I deviated from the pattern here because I'd shortened my bodice. I also made my pleats less 'soft' as intended because I sewed them up to the lines on the pattern. Just personal taste, you dice what you'd like to do. Press. 7. Do the same on the other front bodice piece. 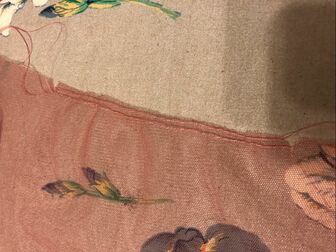 8) Long gathering threads under the bust. 8. There are gathers under the bust, to make these run a long machine stitch (eg 4 on my machine) between the pattern marks 3/8" in the seam allowance and leave it untied at both ends. 9. Then run another such stitch about 1/8" away from the first one, still within the seam allowance. 10. Tie the two bobbin threads together at each end. 11. Tie one end of the thread together. You can now pull one side and gather the fabric. Leave it unfixed for now. 12. Do the same on the other front bodice piece.
13. On the back piece, make the darts by putting the right side together in a triangle (dart) and sewing from the base to the tip. Don't backstitch at the tip, but instead leave long ends and tie the thread to lock it. Then snip off the excess thread. 14. Press the dart flat first, and then towards the centre. 15. Now we can attach the bodice fronts to the back. We'll be using a French seam again, so at the shoulders, match up the notches with wrong sides together. 16. Stitch 3/8" seam allowance, press and trim it down. 17. Flip it over and sew 1/4" seam. Press the seam towards the back. 18. Repeat on the other side. 19. Now attach the back bodice and front bodice at the sides with a French seam, just as above, matching the notches. Hey we have a bodice! Try it on for size and make any fit modifications you feel necessary.
Leave a Reply. |
AuthorCarnivàle Vintage is owned by Rachael Coutts to fulfill her endless need for vintage clothing and jewellery - once her own home drowned in clothes, it was time to open a shop. Archives
August 2020
Categories |

 RSS Feed
