|
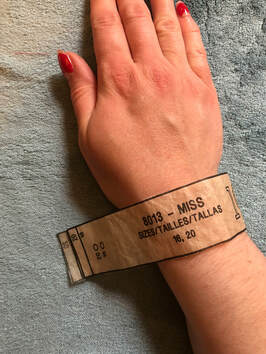
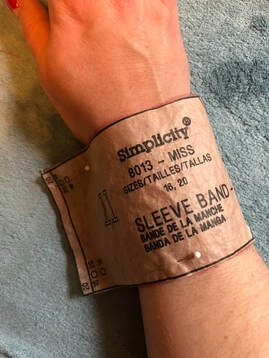
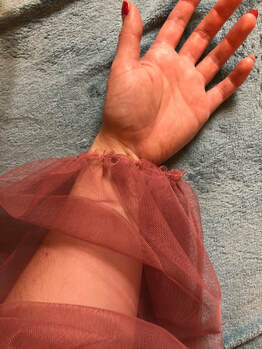
We're certainly cracking on with things now. I deviate from the pattern a fair bit here, heads up! You can choose to do as I did, or to follow the pattern. The view I was vaguely following is for A with bishop sleeves, but you could also do B with fluted sleeves. I sewed the sleeves when really tired and ill, but desperate to sew! I therefore failed entirely to read the other column of instructions and made my cuffs/sleeve bands set without buttons. I have fairly small hands so I'm able to easily get them through the sleeves, yet still get a lovely bishop sleeve. The pattern has buttons, so you choose what will work for you. This is for set cuffs without buttons, which I custom made fit-wise, as the pattern pieces would have been way too loose for my wrists.
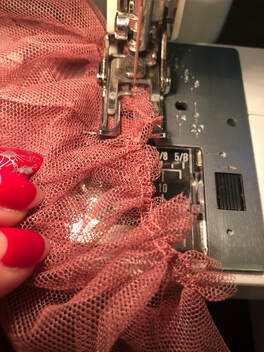
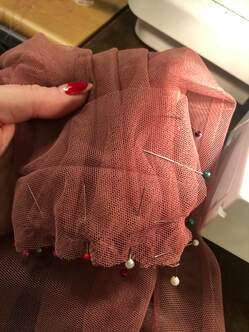
4. We need gathers at both the sleeve head and cuff, so run gathering stitches between the marks on the pattern, just like we did for the bodice front.
5. Try the sleeve band on for fit - mine was massively too big so I cut it down by about an inch. I also choose to ignore the gathering guide because again it was too big. 6. Gather the sleeves so they are going to work with the size of sleeve band you are using and tie in place. 7. Sew or baste the gathers.
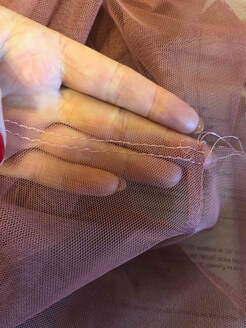
8. Fold the sleeve band in half lengthwise with wrong sides together. 9. On the outside of the sleeve, pin it to the lower edge of the sleeve with the edges of the band extending past the sleeve. 10. Sew up the edges of the sleeve band together and press (I only had 3/8" seam allowance here). 11. Stitch a 3/8" seam around the cuff and then press the sleeve band over the seam and turn it inside. 12. I slipstitched the inside by hand to finish the cuff. 13. Repeat on the other side.
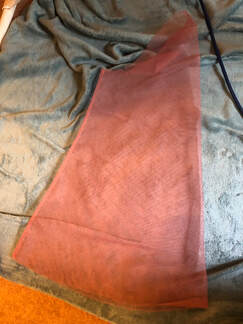
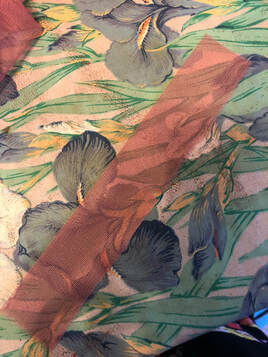
Now we are going to attach the sleeves - again a job I was doing ill and tired, and although I have absolutely done French seams on a sleeve head before, I failed abysmally to do so this time! Instead I ended up sewing a 3/8" seam and then realising my mistake, sewed another seam line 1/4" away from this to make up the 5/8" seam in the pattern. I then just cut off the excess so it looks like a faux French seam! Choose whether you want to do a French seam here (they are tricky on curves) or want to do another seam treatment like pressing them open. Net won't fray so you are ok to do this. Whatever you are doing, follow the general guide below:
Leave a Reply. |
AuthorCarnivàle Vintage is owned by Rachael Coutts to fulfill her endless need for vintage clothing and jewellery - once her own home drowned in clothes, it was time to open a shop. Archives
August 2020
Categories |


 RSS Feed
